
- Install and activate the plugin. WooCommerce must be active.
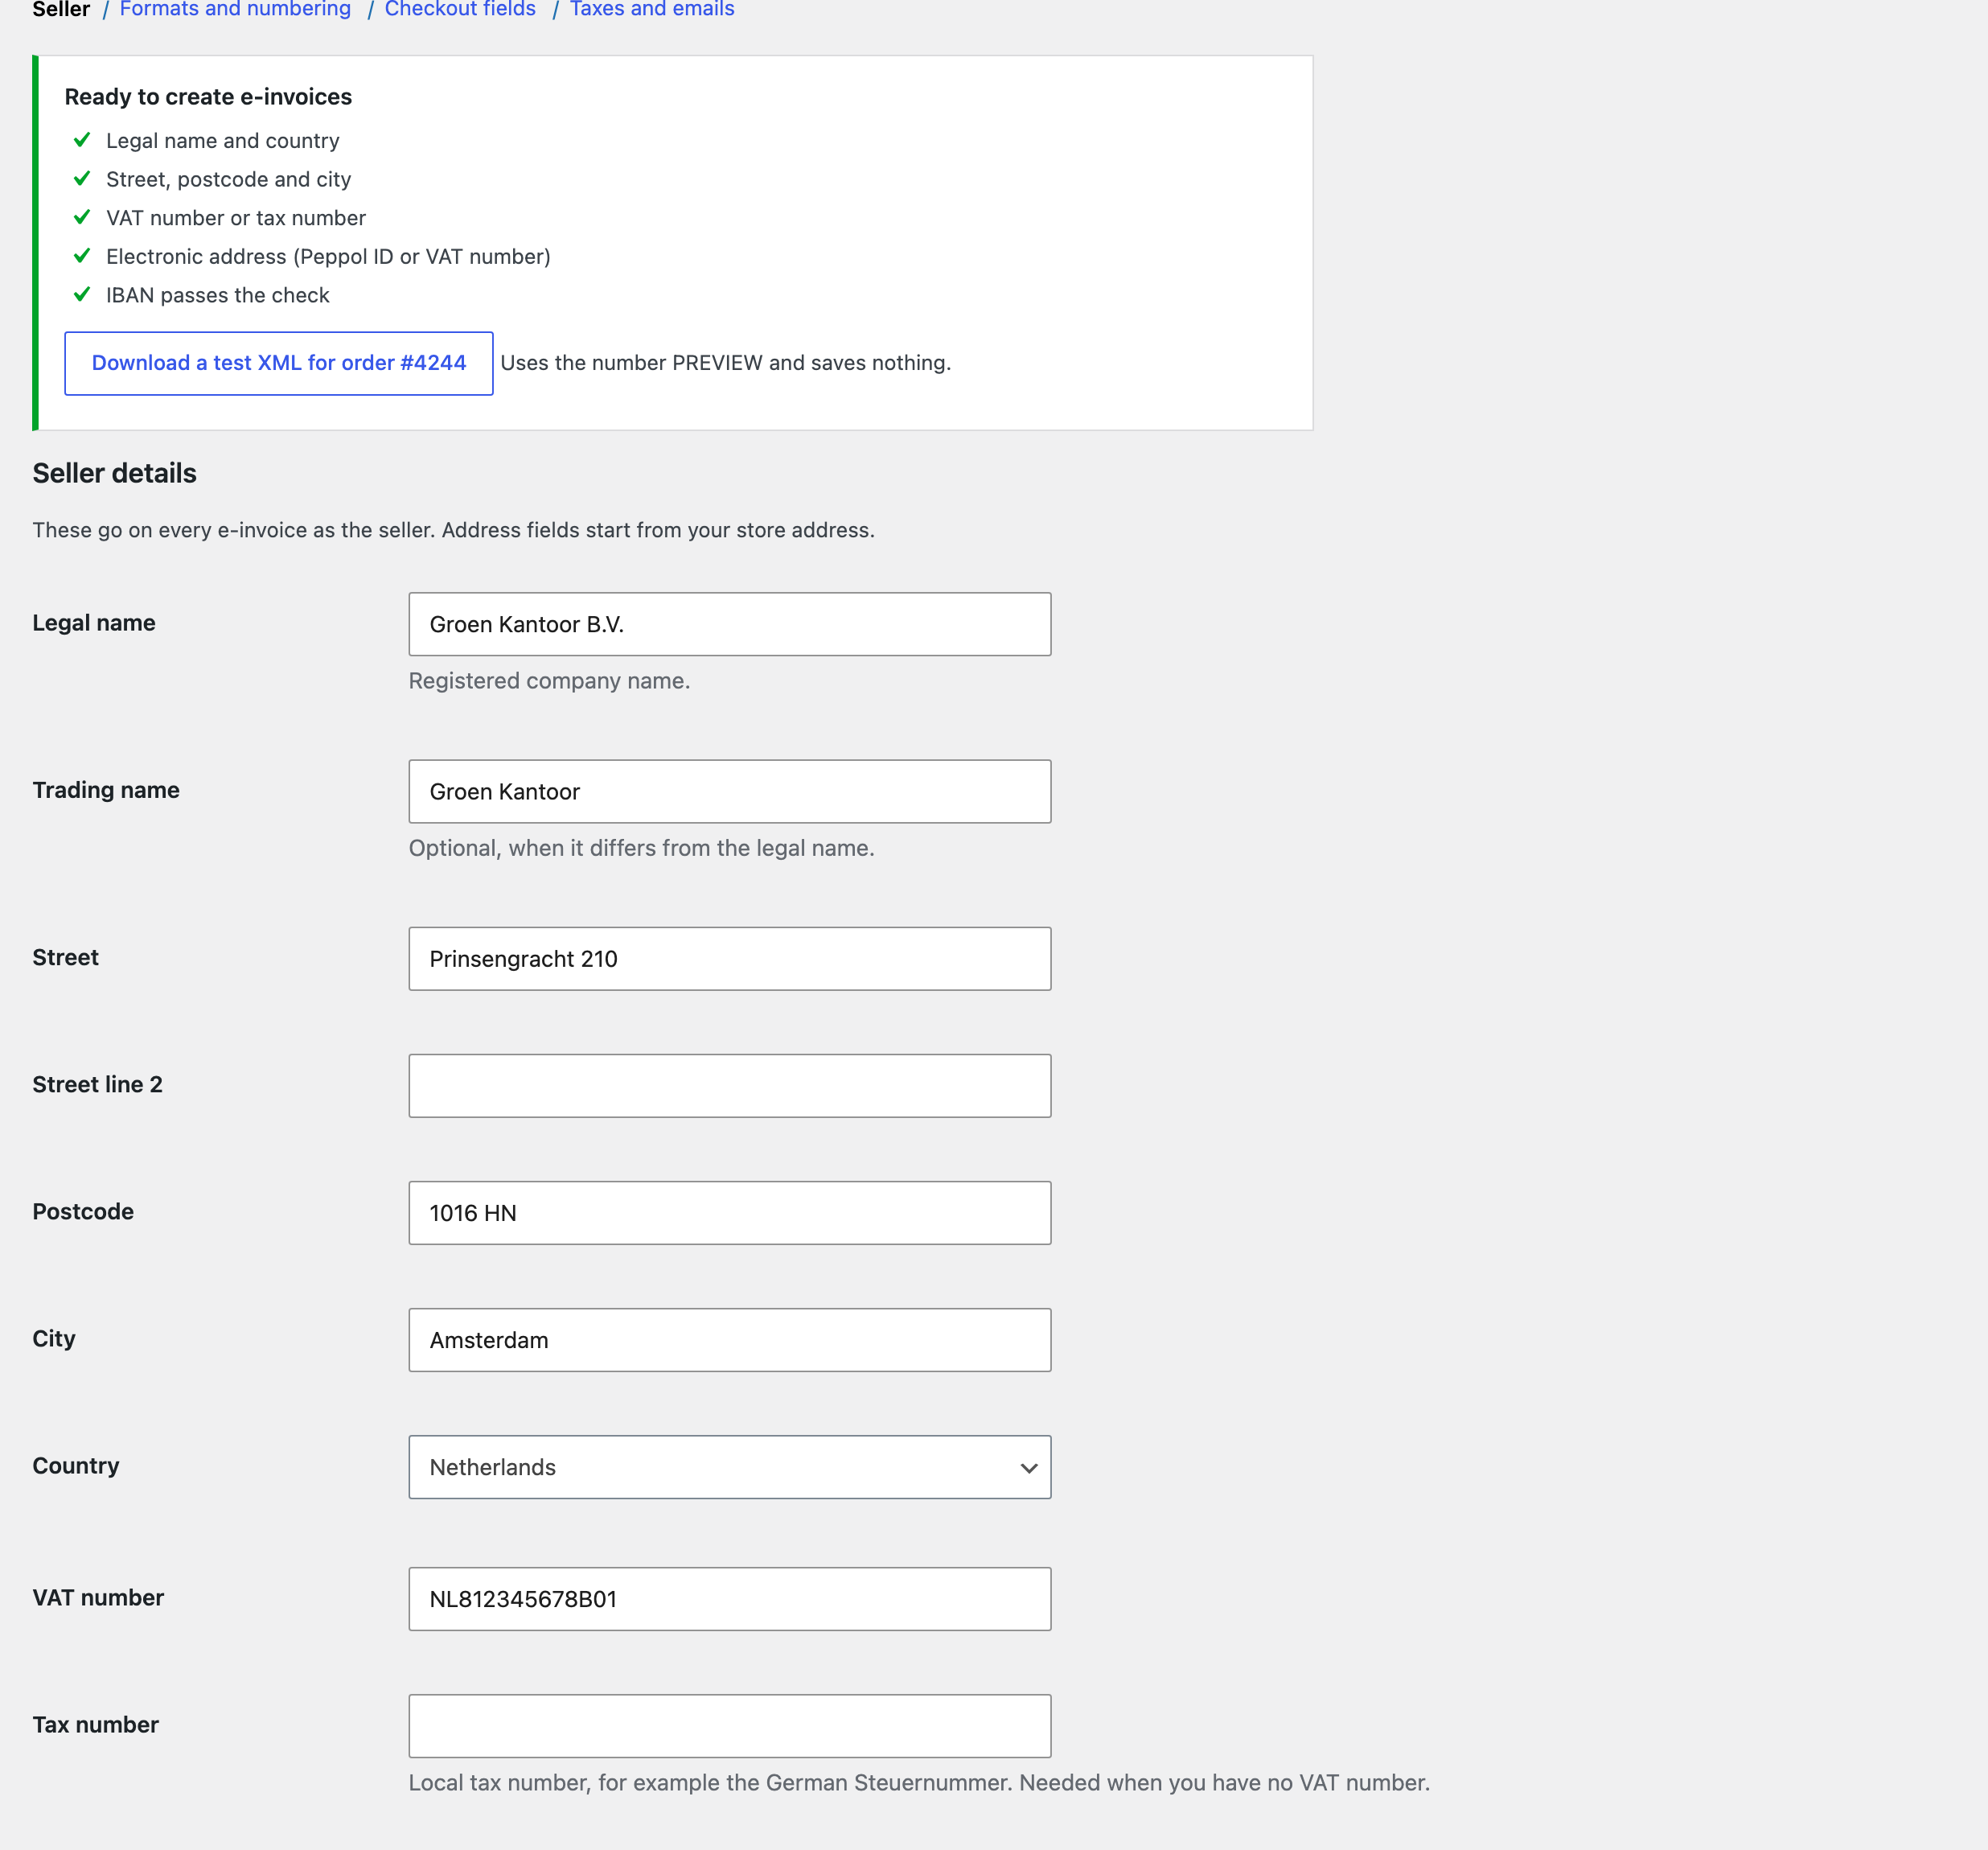
- Open WooCommerce, Settings, E-Invoices. The box at the top lists what is still missing before your first e-invoice.
- Fill in the Seller details: legal name, address, VAT number (or tax number), company registration and your Peppol ID if you have one. Address fields start from your store address.
- Under Contact and payment, add a contact name, phone and email (needed for XRechnung) and your IBAN for orders that are not paid yet.
- Pick the format and the order status that creates the invoice under Formats and numbering.
- Press Download a test XML. It builds an invoice for your latest order with the number PREVIEW and saves nothing.
Dutch sellers: enter the 8 digit KVK number as company registration. Peppol requires it as the legal ID for Dutch suppliers, and the plugin adds the right scheme code on its own.